Create a Gateway on USAePay
Before creating a Gateway several emails should be received in the support@apsofga.com email box:
- A congratulations email sent to client (support CC’d) with several attachments. The email means customer service has created the account, typically in MeS.
- Email from Processor with the VAR sheet attached.
- Another email from Customer Service to notify that everything has been added to dropbox.
Files needed from the dropbox:
- VAR Sheet (also contained in the email from the processor)
- Application
- Billing Agreement
- SPEC sheet
- Other documents are needed for ACH. They take a few weeks so this is usually added later.
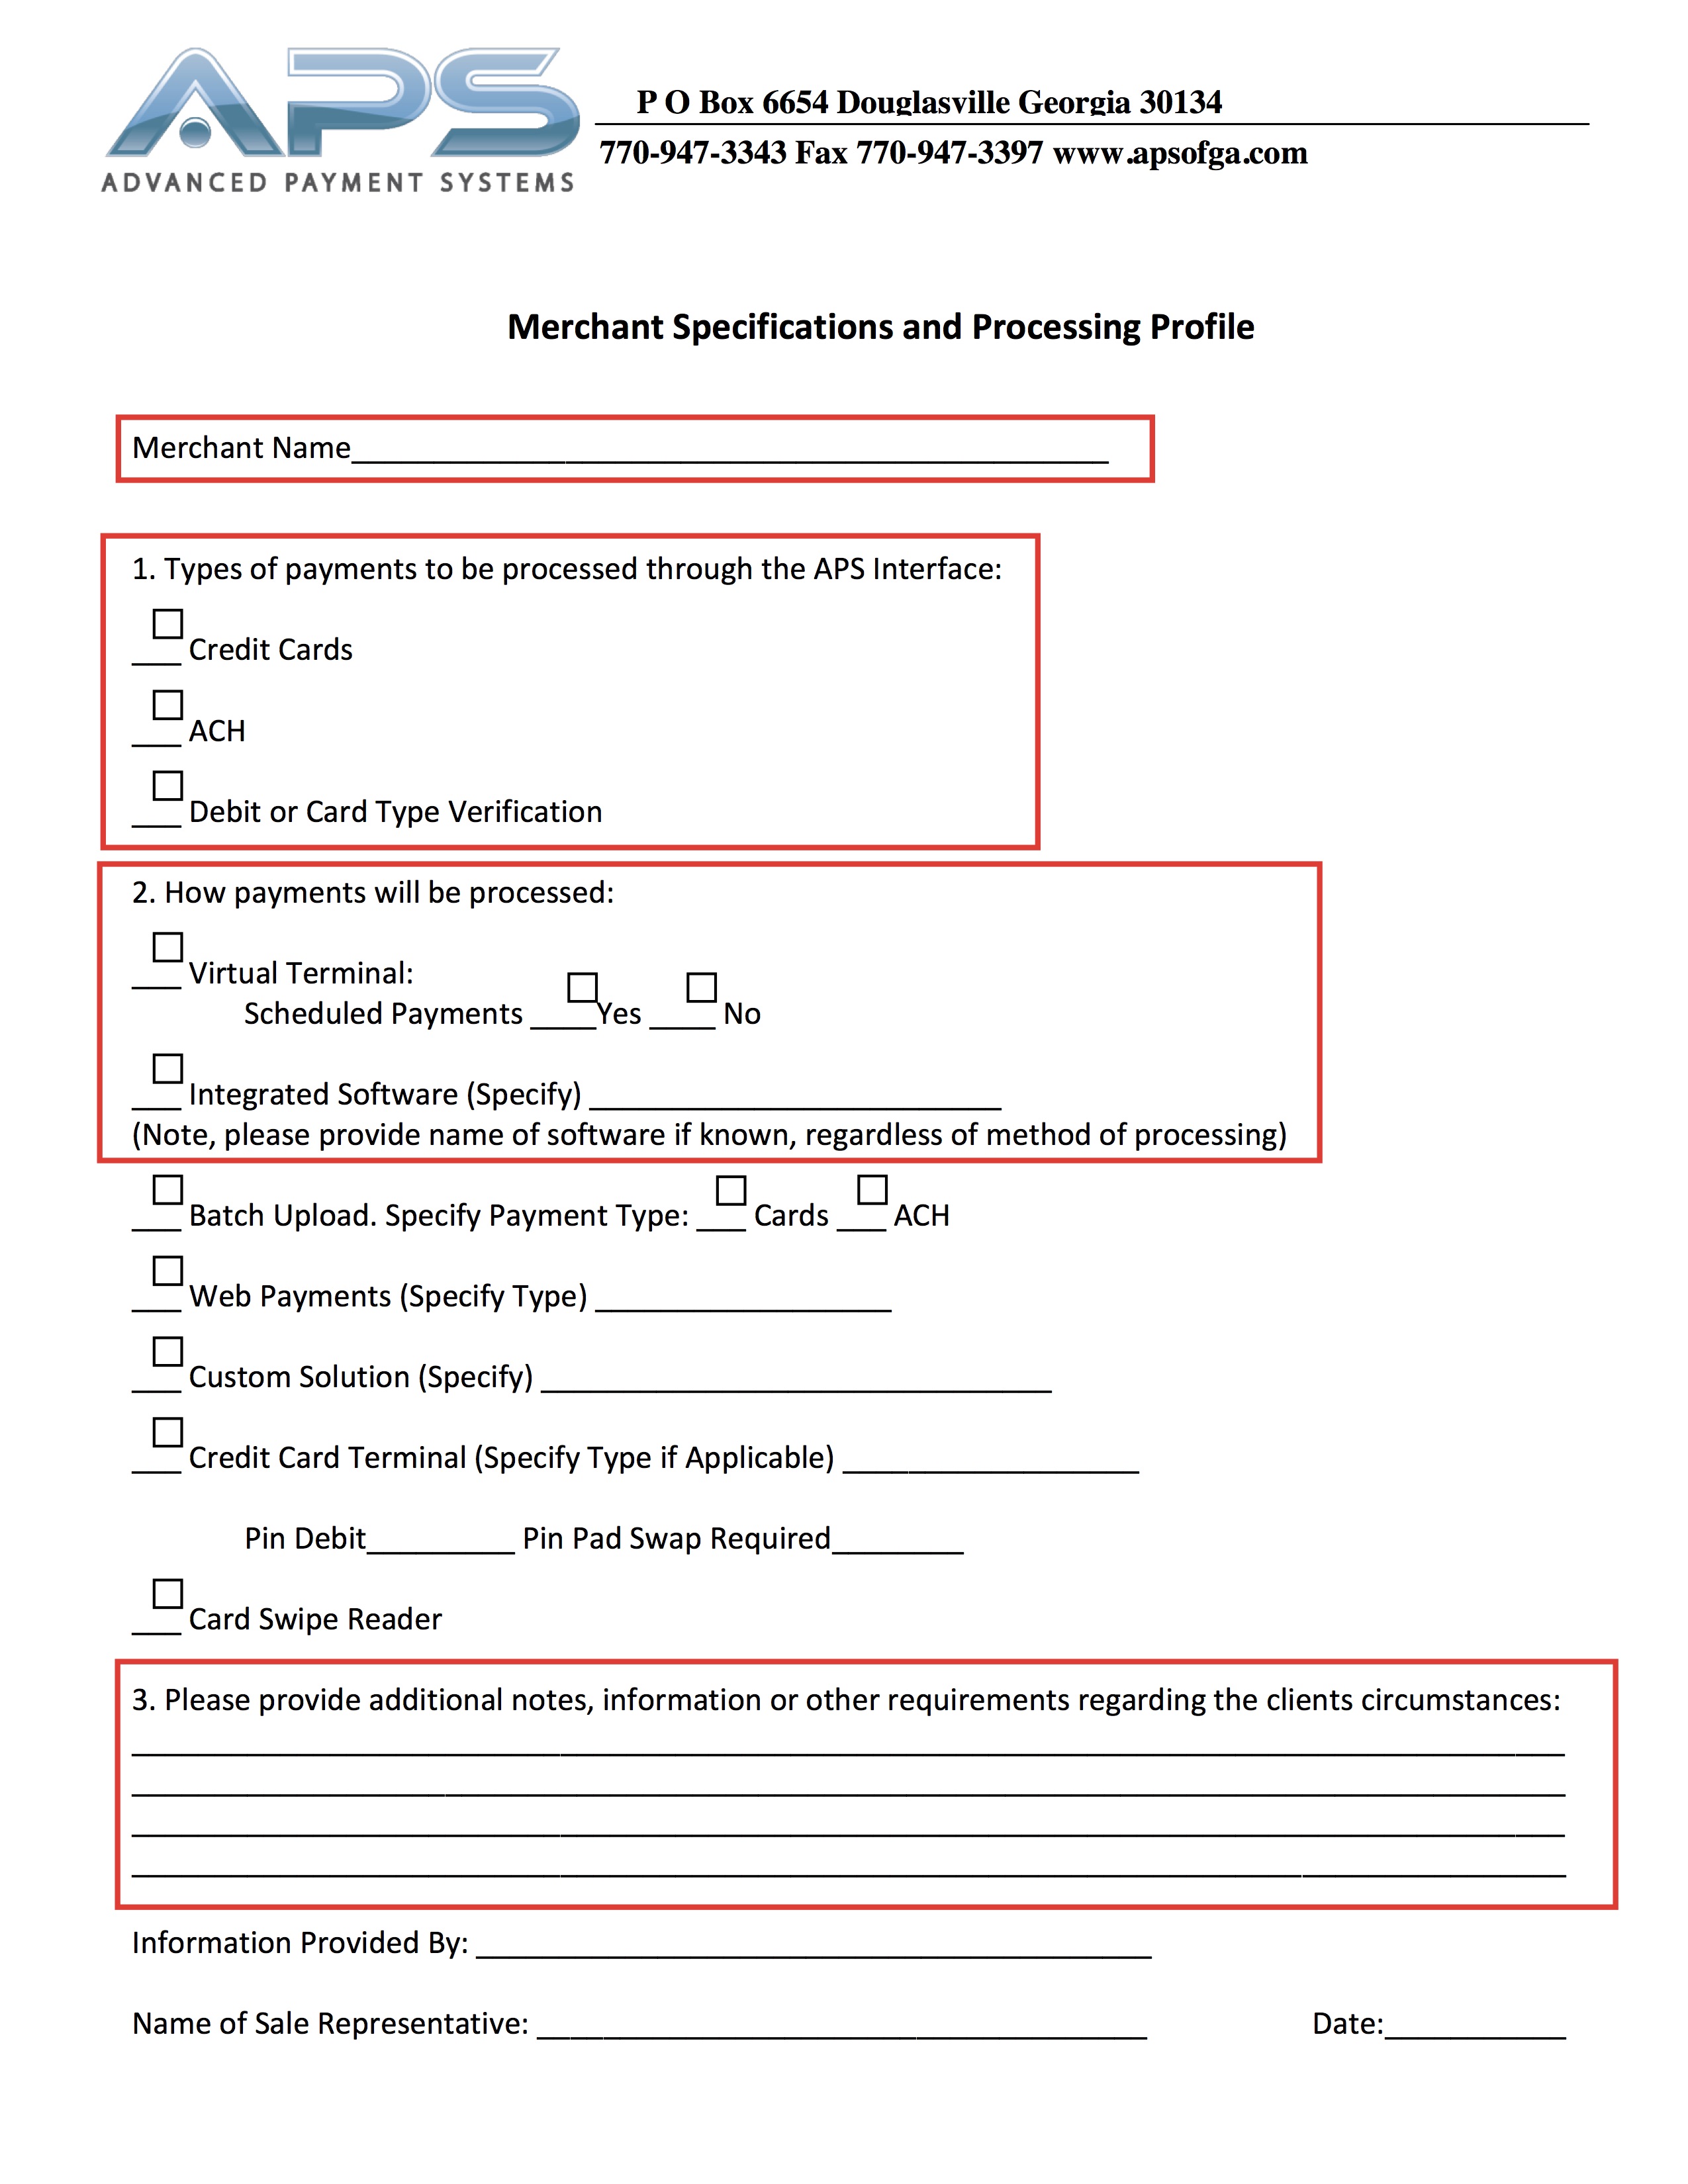
The first document that should be perused is the Spec sheet. The Spec sheet will show what services will be used: CC and/or ACH. It will also indicate if a Virtual Terminal will be used. This just means transactions will be processed through software and not using a physical CC machine. It is also important to note if any integrated software will be used. In example would be DebtNet. If DebtNet was going to be used, then a key would have to be generated in USAePay and sent to the client to enter into DebtNet in order to process transactions. Under section 3 on the Spec sheet all additional notes will be listed.
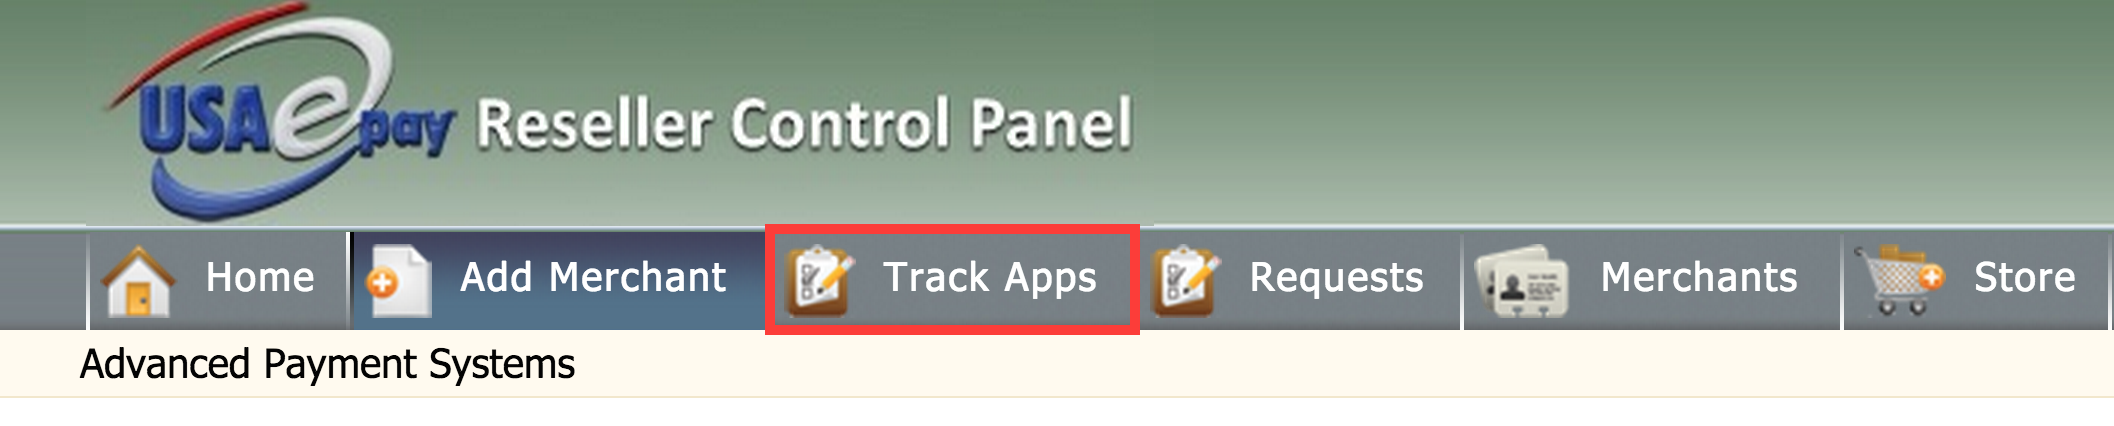
Next, log into the USAePay Reseller Control Panel. Once logged in click the “Add Merchant” tab.

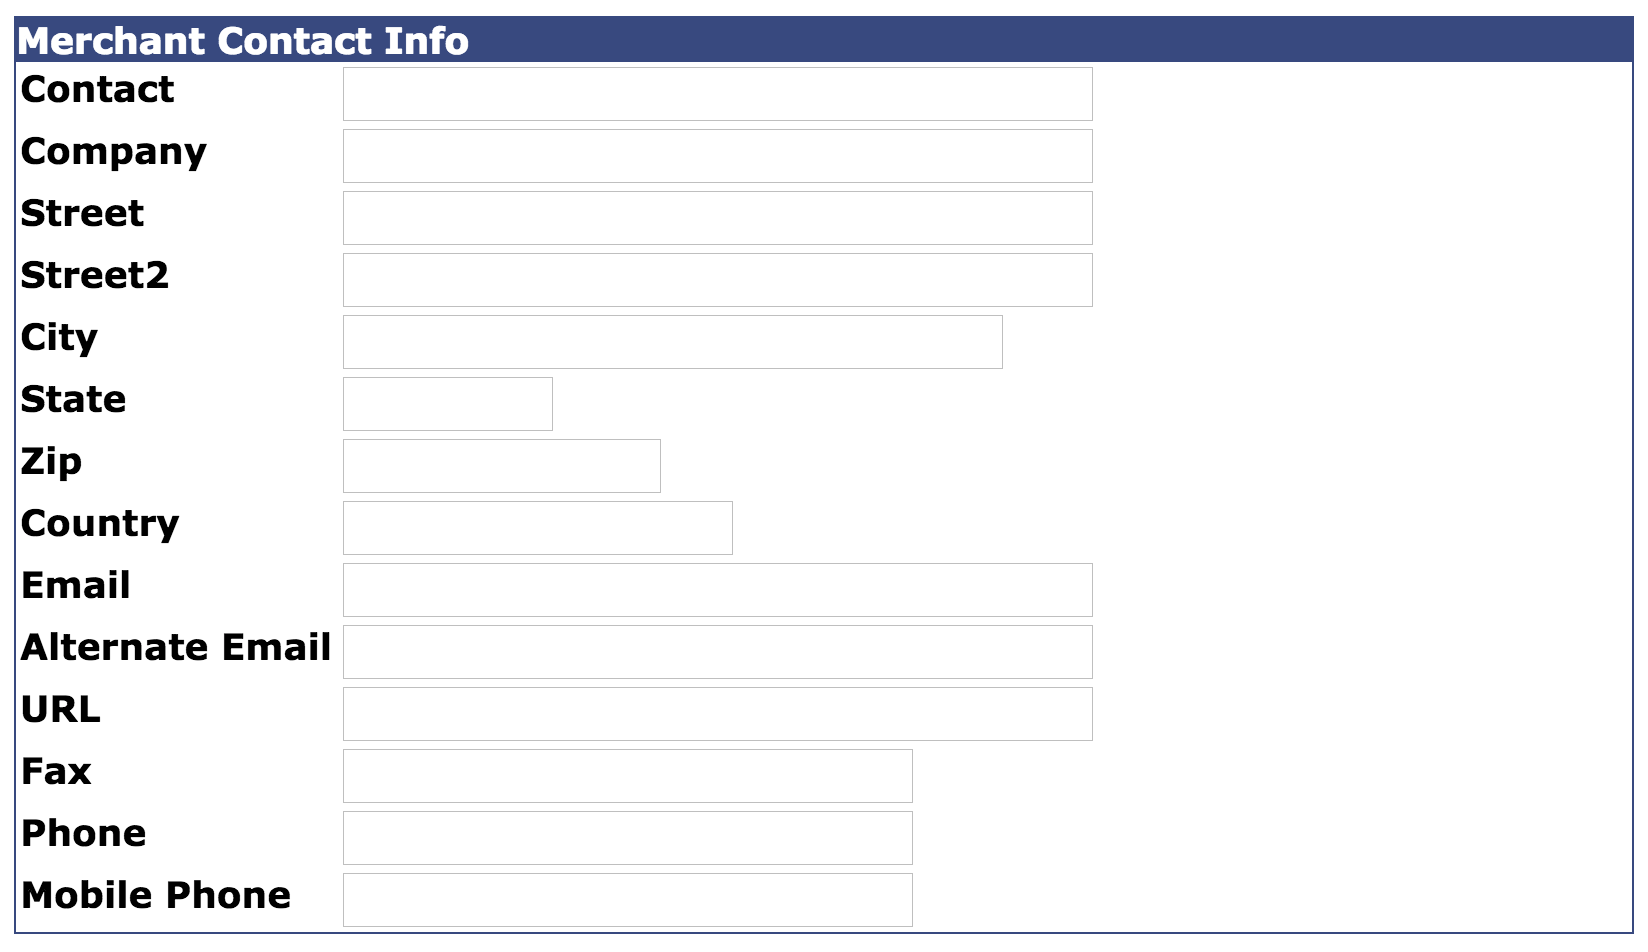
Fill in the merchant contact info from the application file.
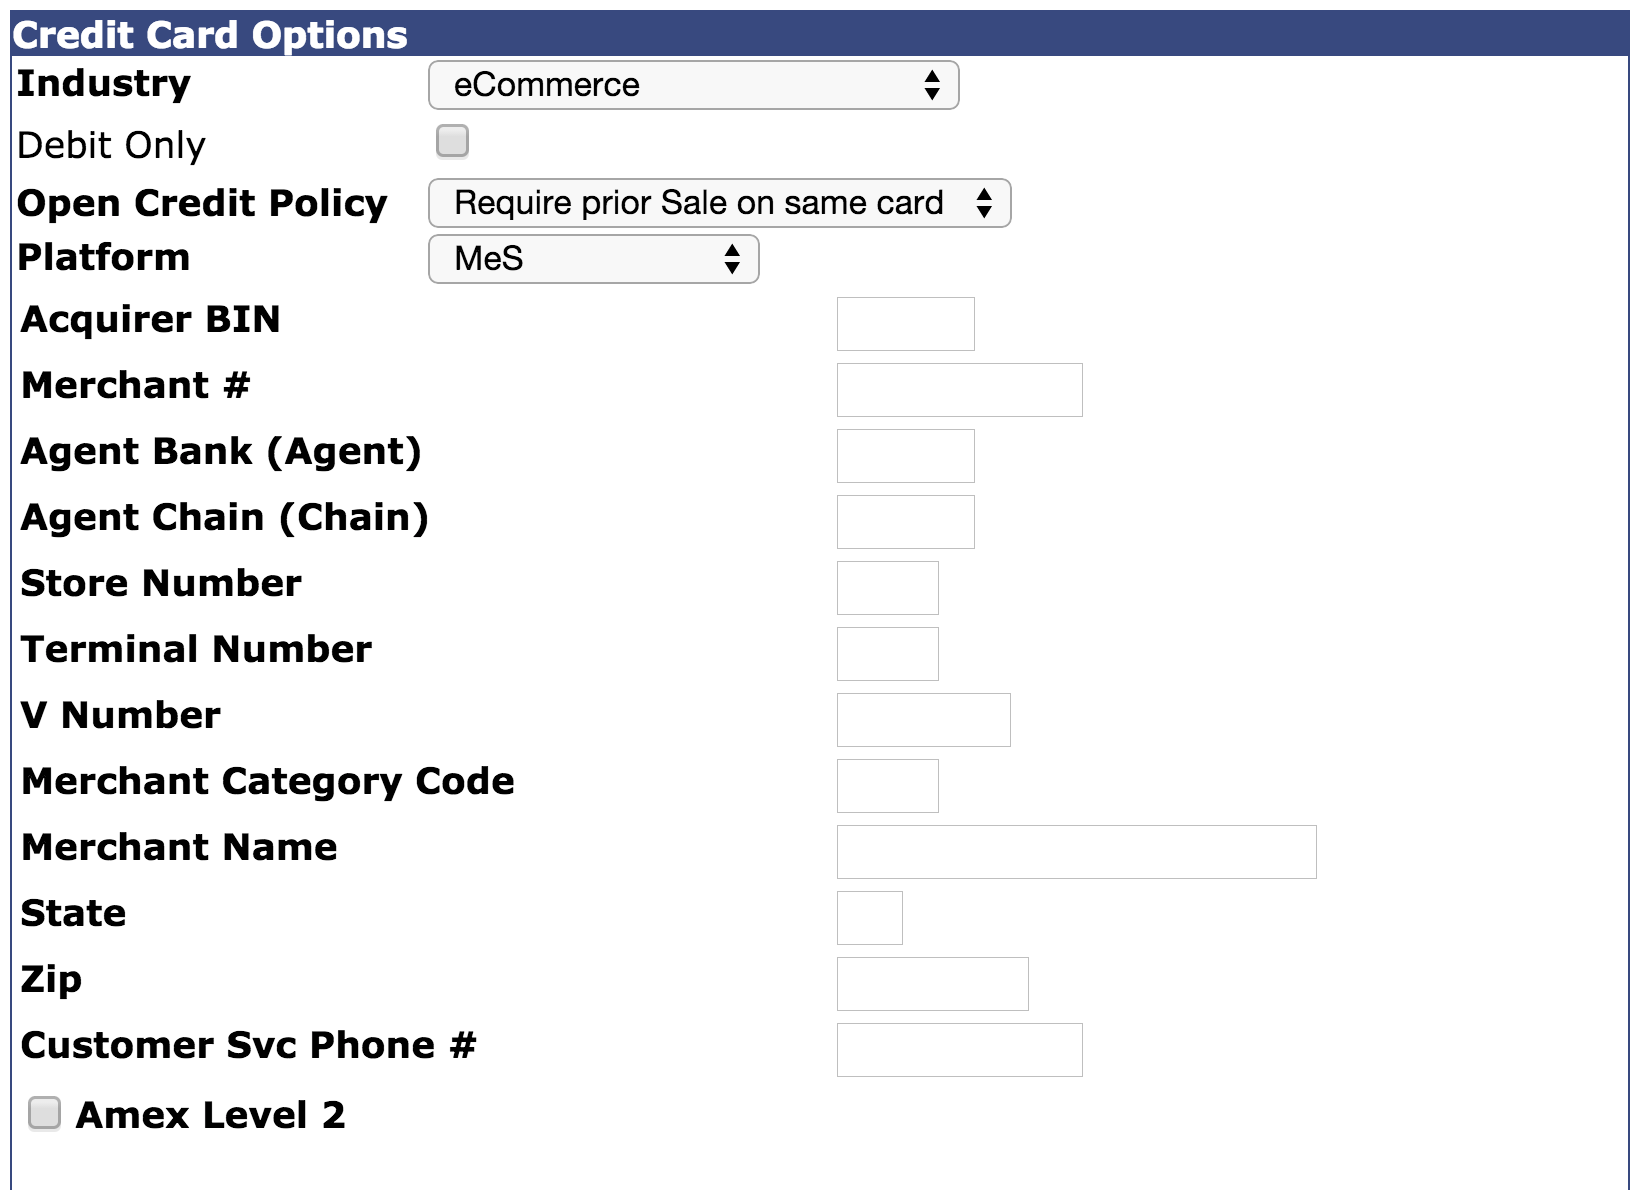
Under the Credit Card Options:
Industry is set to eCommerce. Platform set to MeS. Use info from the VAR sheet to fill in the fields. Note: Terminal ID = V number.
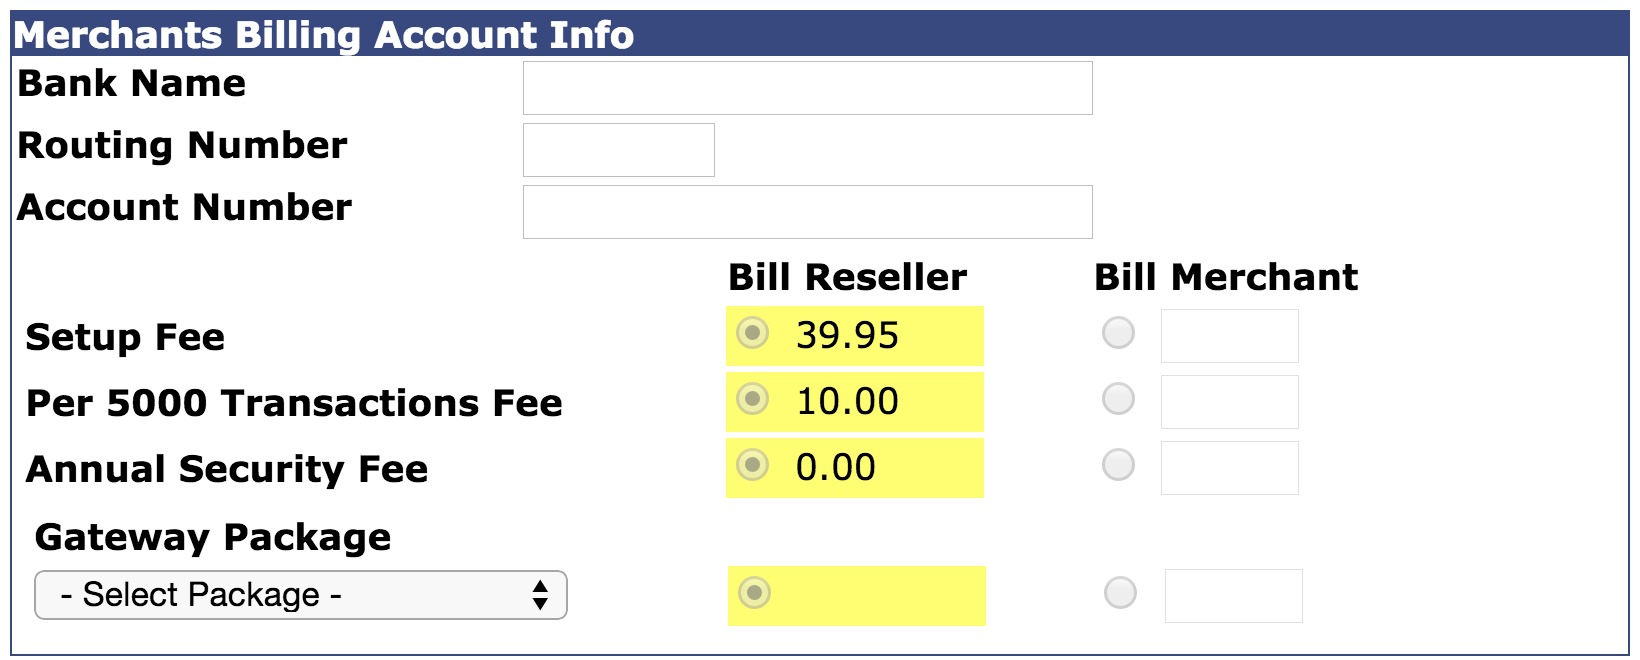
Use the info from the Billing Agreement Document to fill in the Merchants Billing Account Info Section. The package will be silver unless the sheet identifies that they are using batch upload and/or customer database. If they are select the Platinum package.
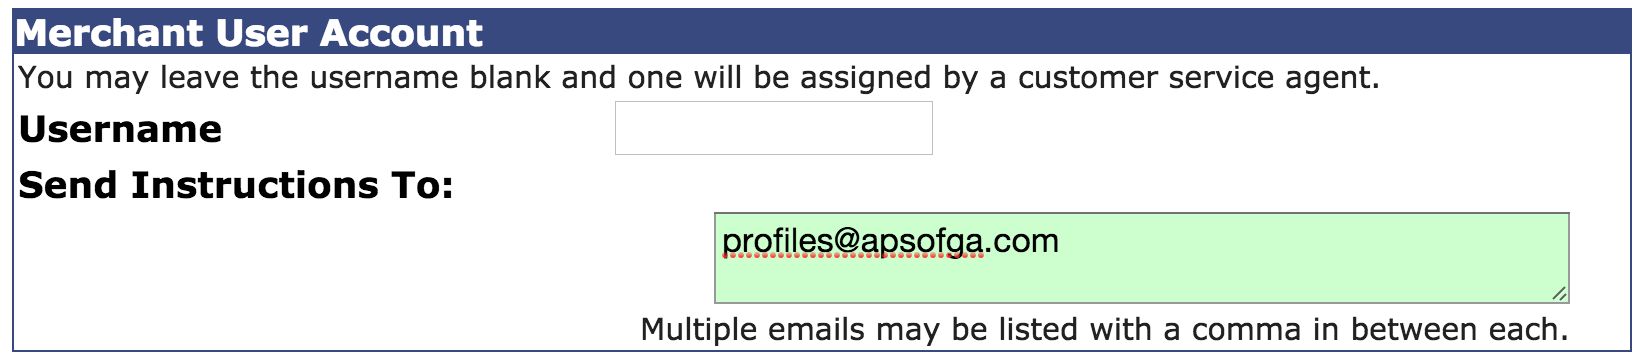
Under the Merchant User Account Section, put “profiles@apsofga.com” for the email.
Once all this information has been entered, go back and proofread for errors.
Once form has been checked for errors, click save at the bottom.
You can use the Track Apps tab at the top to track the application.
When the account is ready to use USAePay will send an email which will include log in credentials.
Now you are ready to schedule training with the client. Send training email invitation (template).
Also Update the App Tracker Spreadsheet on GDrive.
